You’re scrolling online, hunting for second-hand roof tents for sale, and you spot a deal that’s almost too good to be true.
The price is right, the photos look solid, but there’s a nagging question—will it keep you dry when the skies open up? You don’t want to find out the hard way by camping in a downpour.
So, how do you check if that pre-loved rooftop tent can handle the weather without pitching it in the rain? Let’s dive into some smart, practical ways to figure it out.
Why Weather Resistance Matters?
Roof tents aren’t just about sleeping off the ground—they’re your shield against wind, rain, and whatever else nature throws at you.
A good one should stand up to wet conditions, especially if you’re eyeing a used model.
Manufacturers often boast about waterproof ratings, but with second-hand gear, wear and tear can change the story. You’re not just buying a tent; you’re buying peace of mind. Let’s make sure it’s worth your cash.
Step 1: Inspect the Materials Up Close
Start by getting hands-on with the tent. The fabric is your first clue. Most roof tents use stuff like poly-cotton or canvas, known for keeping water out.
Run your fingers over it—does it feel sturdy, or is it thin and frayed? Look for rips, worn patches, or faded spots where the sun might’ve zapped its strength. If the material looks like it’s been through a war zone, it probably won’t hold up in a storm.
Next, check the waterproof coating. New tents often have a rating called Hydrostatic Head (HH), measured in millimeters—think of it as how much water pressure the fabric can take before leaking. A solid rain-ready tent clocks in at 3,000 mm HH or higher.
Used ones won’t come with a spec sheet, so you’re playing detective. Peel back the rainfly (that outer layer) and see if the coating’s peeling or flaking. If it’s coming off like old paint, water’s going to sneak through.
Step 2: Test the Seams and Zippers
Seams are where water loves to creep in, especially on older tents. Flip the tent inside out if you can and eyeball every stitch.
Are they sealed with tape or sealant? That’s a good sign—it means the maker cared about leaks.
But if the tape’s peeling or the sealant’s cracked, you’ve got a weak spot. A quick fix like seam sealer can save the day, but you need to know the problem first.
Zippers are another sneaky entry point. Open and close them a few times. Do they stick or feel loose? Look for rust or missing teeth—those are red flags.
High-end tents often have waterproof zippers with rubber covers. If yours doesn’t, it’s not a dealbreaker, but you’ll want to test them further (more on that soon).
Step 3: Do a DIY Water Test—Minus the Camping
You don’t need a rainstorm to see if the tent holds up. Grab a garden hose or a watering can and set up a mini test at home.
Pitch the tent in your backyard or driveway—any flat spot works. Make sure the rainfly’s on tight, just like you’d set it up for real.
Now, sprinkle water over the top for a few minutes. Start gentle, then crank it up to mimic a decent shower.
Stand back and watch. Does water bead up and roll off? That’s what you want—proof the waterproof coating’s still kicking.
If it soaks in or drips inside, you’ve got a leaker. Focus on the seams and zippers during this test—they’re the usual culprits. No leaks? Great! You’re on the right track.
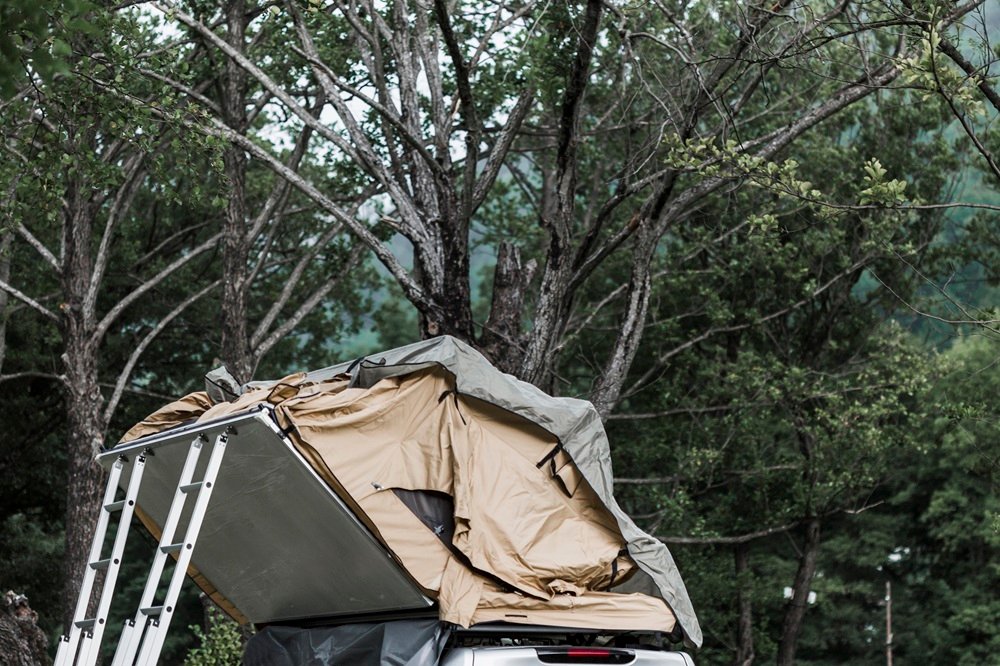
Step 4: Check the Hard Shell (If It’s Got One)
Some roof tents come with a hard shell—usually plastic or aluminum—to fend off the elements. If yours does, pop it open and inspect it.
Cracks or dents mean trouble; water can pool and seep through. Run your hand along the edges where it meets the fabric. A tight seal is key. A beat-up shell might look cool, but it won’t keep you dry.
Hard-shell tents tend to handle heavy rain better than soft-shell ones because of that rigid cover.
Data backs this up—models with a 3,000 mm HH rating and a solid shell often outlast fabric-only designs in downpours. So, if the shell’s intact, you’re ahead of the game.
Step 5: Ask the Seller the Right Questions
The person selling the tent knows its history—or at least they should. Don’t be shy—hit them with some direct questions.
How often did they use it in rain? Did it ever leak? Have they patched or repaired it? If they dodge the answers or sound sketchy, walk away. A legit seller won’t mind sharing the dirt (or lack thereof).
You can also ask for photos of the tent set up in wet weather. No pics? That’s fine—just lean harder on your own checks. A tent’s past can tell you more than its price tag ever will.
Step 6: Look at the Numbers
Let’s talk facts for a sec. A new roof tent with a 5,000 mm HH rating can take a serious beating—think 5 meters of water pressure before it caves. Used ones lose some of that oomph over time. Sun, wind, and rough handling wear down the coatings.
A study from tent makers shows waterproofing can drop by 20-30% after a few years of heavy use. That’s why your tests matter—you’re not guessing, you’re proving it still works.
Here’s a quick table to guide you:
| Feature | Good Sign | Red Flag |
| Fabric Condition | Thick, no fraying | Thin, torn, or faded |
| Waterproof Rating | 3,000 mm HH or higher | Below 1,500 mm HH |
| Seams | Taped or sealed | Cracked or unsealed |
| Hard Shell | No cracks, tight seal | Dented or loose |
Step 7: Trust Your Gut—and Maintenance
If everything checks out but you’re still nervous, think upkeep. A solid second-hand tent might just need a little love.
Spray it with a waterproofing product like Fabric Guard—it’s like giving it a raincoat. Re-seal the seams if they’re iffy. A few bucks and an afternoon can turn a decent tent into a fortress.
Trust your instincts, too. Does it feel flimsy when you tug on it? Does the seller’s story add up? You’re the one sleeping in it, so don’t settle for “maybe.”