
Starting your weight loss journey with Ozempic can feel overwhelming, especially when you’re trying to figure out the best place to inject Ozempic for weight loss while minimizing any potential skin reactions. Don’t worry – you’re not alone in this journey, and I’m here to help you navigate it with confidence.
Understanding Injection Site Reactions
Let’s face it: nobody enjoys getting shots. But understanding what’s normal and what isn’t can make a world of difference. Common injection site reactions include:
- Redness
- Mild swelling
- Itching
- Brief burning sensation
- Minor bruising
These reactions usually disappear within a few days, but why deal with unnecessary discomfort if you can avoid it?
Strategic Injection Sites: Your Roadmap to Comfort
Your body offers several prime locations for Ozempic injection. Think of these sites as your personal comfort zones:
| Injection Site | Pros | Cons |
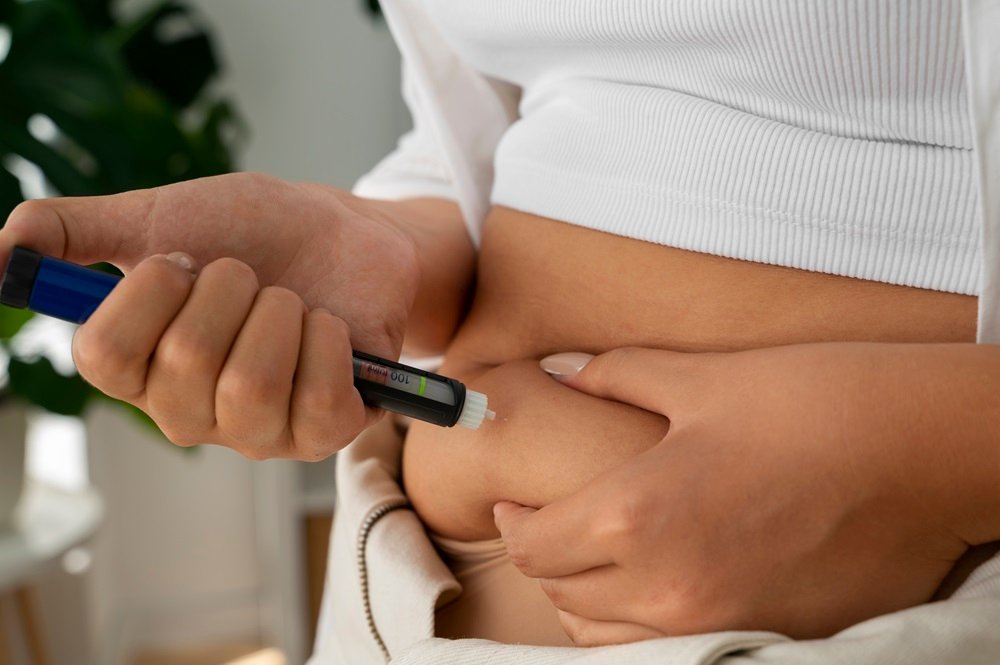
| Abdomen | Easiest access, most fat tissue | More nerve endings |
| Thigh | Large surface area, less sensitive | Muscle interference risk |
| Upper arm | Good for assisted injection | Limited self-injection angle |
The Golden Rules of Site Rotation
Picture your injection sites as a clock face. Never use the same spot twice in a row. Here’s your rotation strategy:
- Divide each injection area into smaller sections
- Move clockwise within each region
- Switch to a different region weekly
- Document your injection spots (yes, really!)
7 Pro Tips for Minimal Reactions
Want to become an injection site reaction ninja? Here’s how:
1. Temperature Matters
Inject room-temperature medication. Cold Ozempic can sting like a angry bee! Take it out of the fridge 30 minutes before injection.
2. Clean Like You Mean It
Use alcohol swabs in a circular motion. Wait until it’s completely dry – rushing this step is like trying to plant seeds in wet concrete. It just doesn’t work well.
3. The 45-Degree Sweet Spot
Perfect your angle of attack. A 45-degree angle usually hits the sweet spot between too shallow and too deep. Think of it as threading a needle – precision matters!
4. Slow and Steady Wins
Count to 6 while injecting. Then wait another 6 seconds before removing the needle. It’s like making perfect coffee – rushing ruins everything.
5. No Rubbing Zone
Resist the urge to massage the injection site. Let your body do its thing. Would you shake a Polaroid picture? (Spoiler: you shouldn’t do that either!)
6. Ice Is Nice (Sometimes)
If you’re prone to reactions, apply an ice pack:
- 10 minutes before injection
- 10 minutes after injection
- But never during!
7. Track and Learn
Keep a reaction diary. Include:
- Date and time
- Injection site
- Any reactions
- What worked/didn’t work
The Pre-Injection Checklist
Before you begin, ensure you have:
- [ ] Clean hands (washed with soap and water)
- [ ] Room temperature medication
- [ ] Fresh alcohol swab
- [ ] Clean, dry injection site
- [ ] Proper lighting
- [ ] Comfortable seating
When to Call Your Healthcare Provider
While most reactions are harmless, some deserve professional attention. Red flags include:
- Severe pain lasting more than 2 days
- Spreading redness
- Fever
- Unusual swelling
- Hard lumps that don’t go away
Advanced Techniques for Seasoned Users
Once you’ve mastered the basics, level up your injection game:
The Pinch Technique
Create a gentle tent of skin between your thumb and forefinger. This technique:
- Isolates fatty tissue
- Reduces muscle involvement
- Minimizes nerve contact
The Dart Method
Quick and nearly painless:
- Hold needle like a dart
- Insert swiftly but controlled
- Think smooth, not jerky
Lifestyle Factors That Impact Reactions
Your daily habits can affect injection site reactions:
- Hydration: Well-hydrated tissue = less irritation
- Exercise: Light movement promotes absorption
- Clothing: Loose-fitting clothes reduce friction
- Stress: High stress can increase sensitivity
The Mental Game
Success with Ozempic isn’t just physical – it’s psychological too. Try these mind tricks:
- Visualization: Picture successful, painless injections
- Positive self-talk: “I’ve got this!”
- Routine building: Make it part of your normal schedule
- Celebration: Acknowledge your progress
Looking Ahead: Long-Term Strategy
Remember, your injection strategy might need adjustments over time. What works now might need tweaking later. Stay flexible and attentive to your body’s signals.
Creating Your Personal Protocol
Put together your own injection routine based on what works best for you. Maybe you prefer morning injections, or perhaps evenings suit your schedule better. The key is consistency and comfort.
Final Thoughts
Managing Ozempic injection site reactions doesn’t have to be complicated. With these strategies in your toolkit, you’re well-equipped to minimize discomfort and maximize your treatment success.
Remember: every injection is a step toward your health goals. Stay patient, stay consistent, and most importantly, stay committed to your well-being.
